Here is a simple, straightforward, and beginner-friendly step to make light and fluffy homemade couscous from scratch.
What is Couscous?
Couscous looks like a grain, but it’s tiny pasta. It’s made from semolina flour (the same kind used for spaghetti) mixed with water and rolled into small grains. It cooks really fast, usually in 5 minutes, and comes out light and fluffy.
Couscous doesn’t have a strong taste on its own, so it soaks up whatever flavors you add, like spices, broth, or sauce.
It’s popular in North African and Middle Eastern cuisine, and you can serve it with meat, vegetables, stew, or even cold in salads. It’s easy, quick, and super versatile.
I have made it in different ways: jollof couscous, chicken and vegetable couscous and ground beef couscous. Its ability to transform depending on your available ingredients and be nutritious is one of the many reasons I cherish cooking it for my family. Couscous is the perfect addition to any side or main dish on a busy weeknight.
Couscous pairs beautifully with a hearty roasted vegetable if you intend to serve a healthy meal on a weeknight. Some grilled chicken will also make a lovely and satisfying lunch idea, or even a spicy pepper sauce.


Ingredients for Making Couscous from Scratch
- Semolina flour: I used Honeywell semolina to make this recipe. However, other good quality brand will work.
- Water: hydrates your semolina and helps it clump together during rolling.
- Salt: balances the overall flavor of your couscous dish.
- Extra Virgin Olive Oil: adds richness and a subtle flavor and prevents sticking.
How to Make Couscous from Scratch
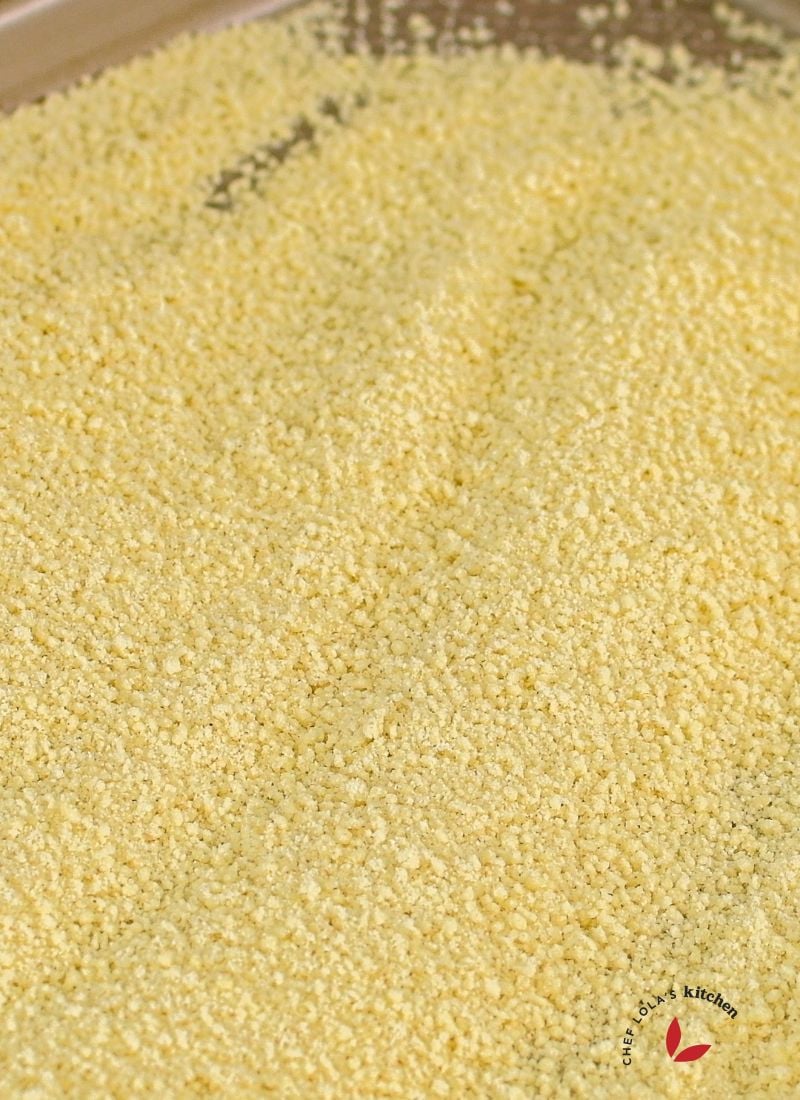
- Start with Semolina Flour: Dissolve 1 teaspoon of salt in 2 cups of warm water. Pour this salted water into your spray bottle. Spread semolina flour in a thin, even layer on your large, wide mixing bowl or tray.
- Sprinkle water: Lightly spray the semolina with 10-15 spritzes of the salted water. Immediately begin to gently rub and roll the semolina in circular motions using your palms. The goal is to make the semolina flour form tiny, distinct granules.
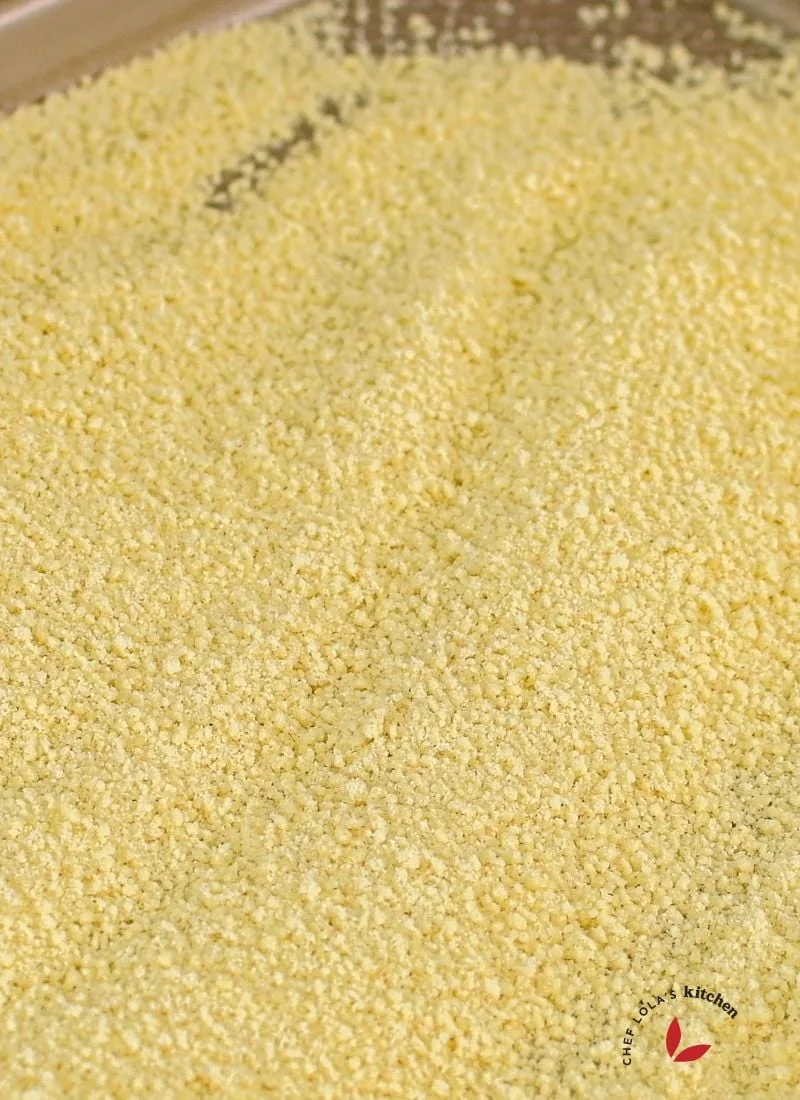
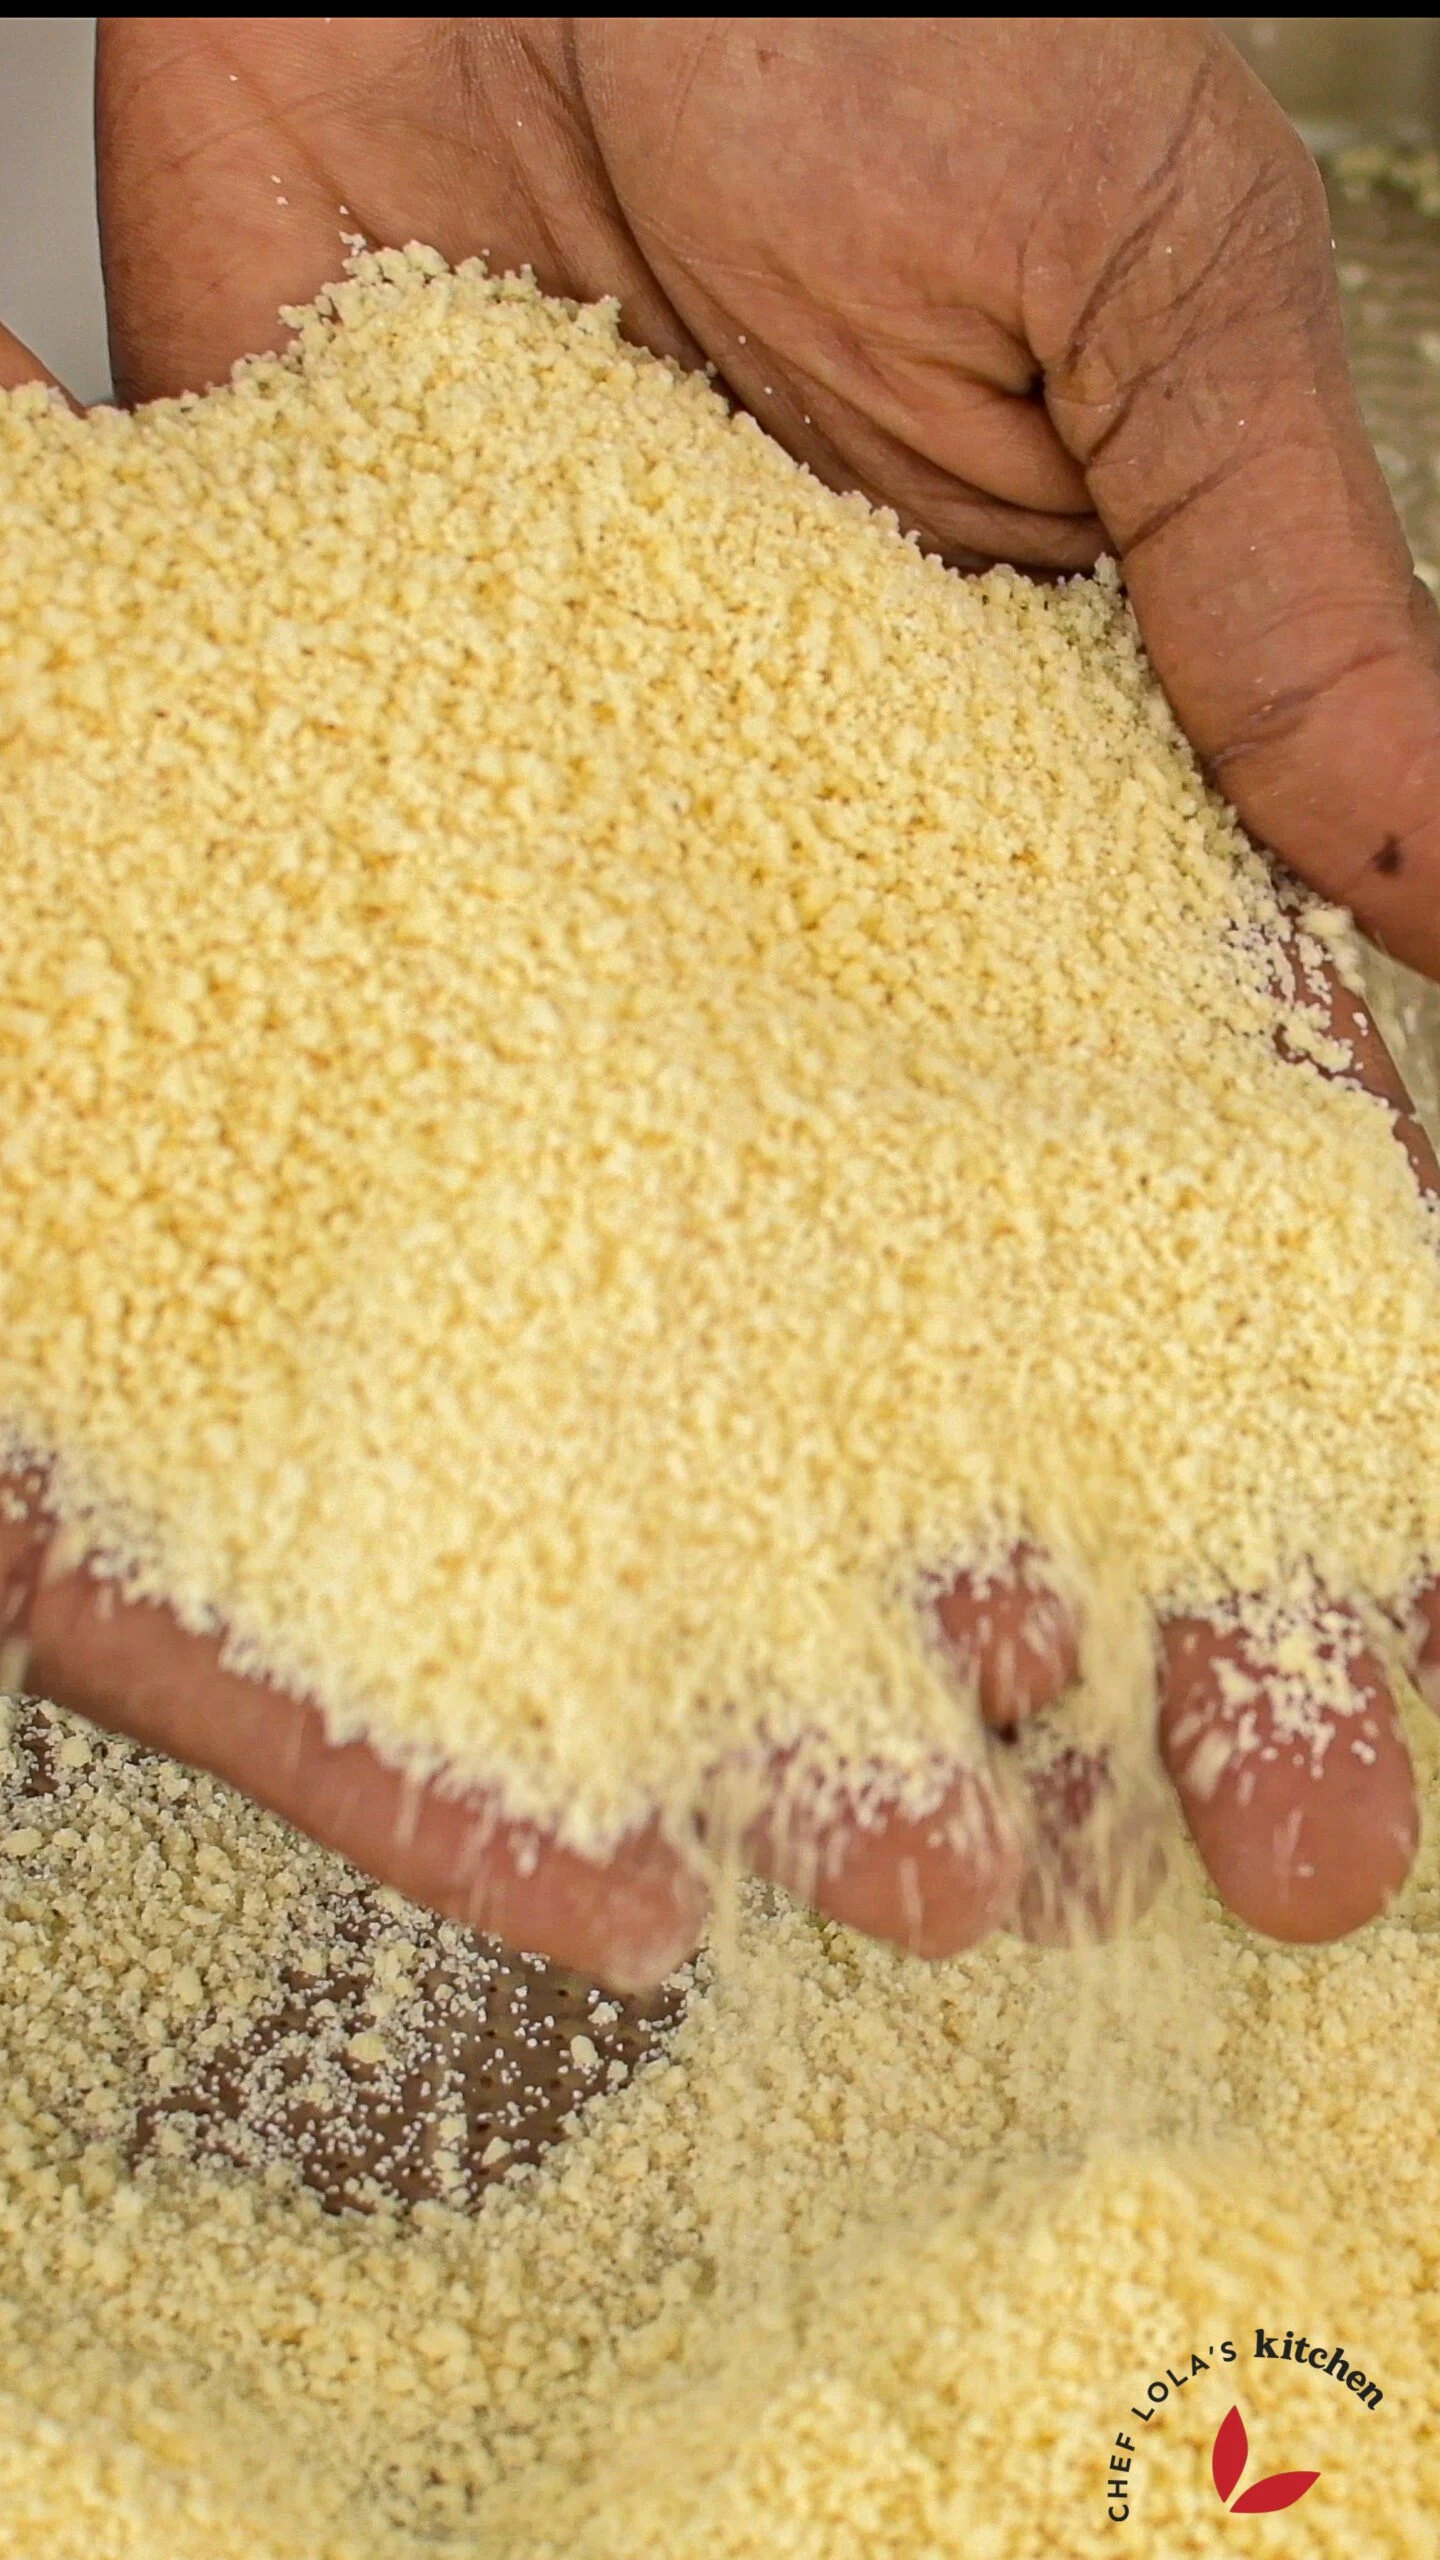
- Continue spraying with small amounts of water (10-15 spritzes at a time) and rolling with your hands. The semolina will slowly soak up the water. It will grow in size and look like small, round couscous grains, about the size of a pinhead.
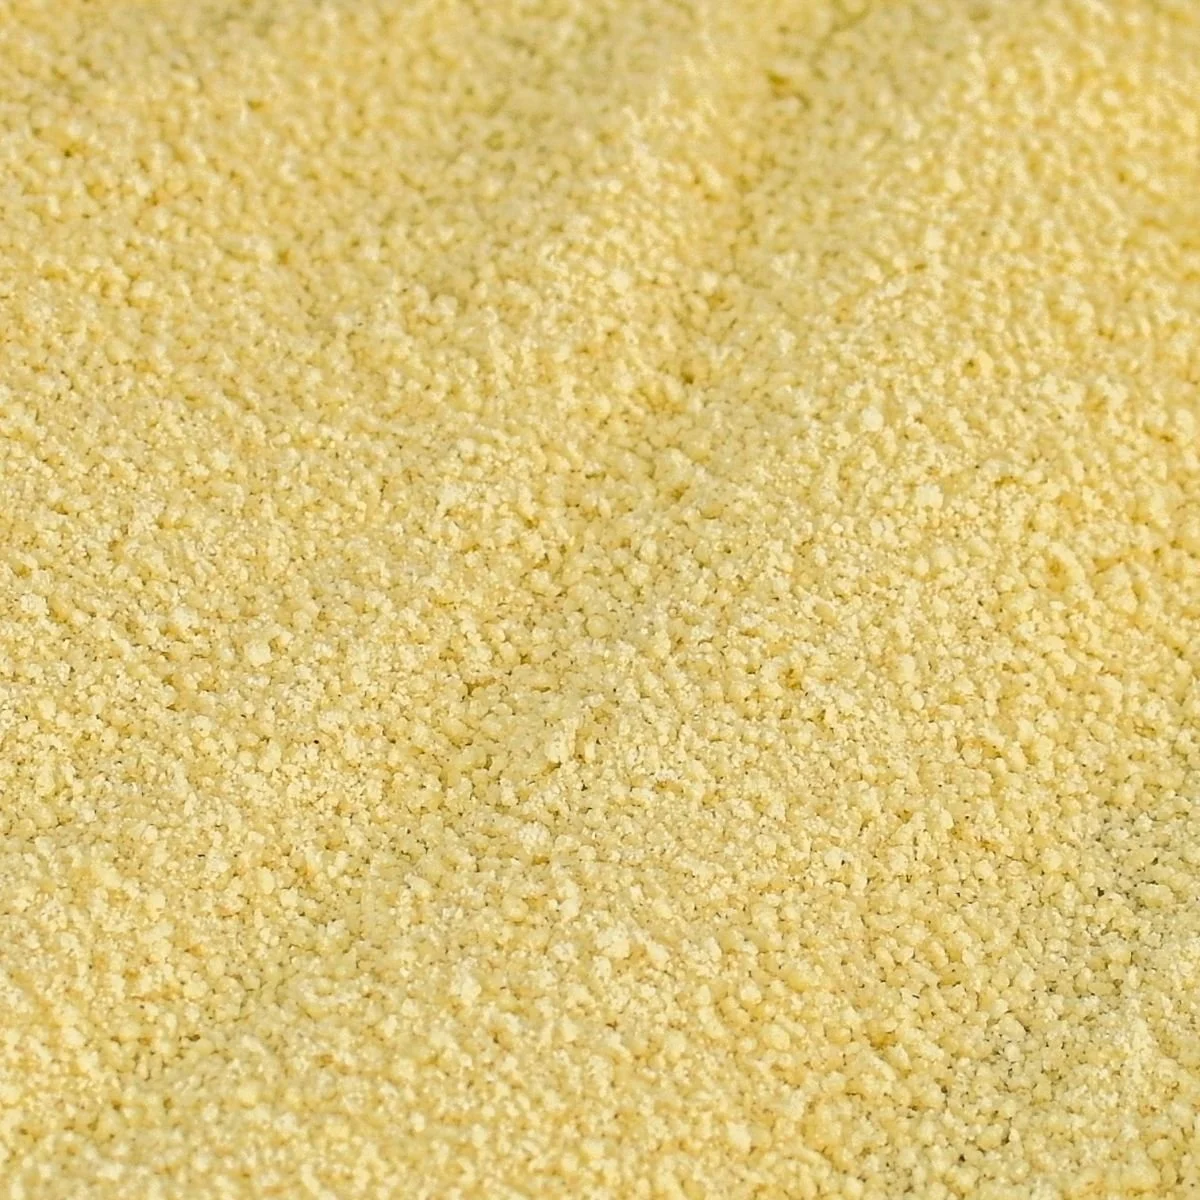
- Sieve: Place a strainer (with about ⅛ inch diameter holes) over another large, shallow container. Gently work the couscous through the sieve, rubbing it with your palm or fingertips in a circular motion. Discard any large clumps that don't pass through the sieve.
- Steam: Prepare the steamer by adding four to five inches of water to the bottom and bringing it to a boil. Add the semolina to a cheesecloth-lined steam basket. Place over the boiling water without touching the water and steam for 10 minutes, mixing frequently to prevent clumping; after 10 minutes, the mixture won’t clump anymore.
- Cover and continue to cook for another 15 to 20 minutes.
- Fluff it up: To serve, you can stir fry, cook in your desired sauce or simply bring 2 cups of water to a boil and steam the couscous one more time, covered, for another 15 minutes. Add the oil to it, fluff, and serve immediately.


Frequently Asked Questions
- Can I use regular flour to make couscous?
No, you cannot use regular flour to make it because flour doesn’t clump or steam the same way as your semolina flour.
- Is Couscous the same as fonio?
No, couscous and fonio are not the same. While both are small-grained staples and can be used similarly, couscous is made from semolina flour, while fonio is a gluten-free grain from the millet family. Another distinctive factor is that fonio has a more delicate texture and a slightly nuttier flavor.
Why did my couscous turn out hard?
It likely turned out hard because it didn't absorb enough liquid or wasn't cooked long enough. When cooking it, ensure that you add the correct water-to-couscous ratio; this helps to ensure that your couscous turns out fluffy and not hard.
Why did my couscous turn out mushy?
If you are making your couscous from scratch, getting the texture right is one of the trickiest parts. The reasons it may turn out dry are simple: overcooking, not fluffing it properly, or not using enough liquid. Adjusting these by following the directions can help you achieve a fluffy, moist, and delicious dish.

How to Store
Once cooked from scratch, leftovers can be stored in an airtight container. Keep them in your refrigerator for 3-4 days or in the freezer for 3-4 months. You can use a microwave or stovetop to reheat. Add a little water or broth before reheating. This will help keep it from drying out.
How to perfectly pair your couscous
This recipe is quite versatile, and you can serve it in different ways, either as a main or a side dish. Here are a few of my favorite ways to serve it:
- With roasted vegetables and grilled catfish, to make it a filling meal
- As a main dish, I have my fiery peri peri sauce and some moist grilled meat
- For a lighter option, I serve my Couscous with a bowl of Fresh Caesar Salad.
- You can also use it as a base for a quick jollof couscous or as a substitute for white rice for a change.
Amazing Couscous Recipes

How I Make Couscous from Scratch (A Step-by-Step Guide)
Ingredients
- 2 cups Semolina flour Honeywell semolina flour or any other type
- 1 cup water (at room temperature) approximately, you might use less or more
- 1 teaspoon salt divided
- 2 tablespoons extra virgin olive oil divided
Instructions
- Dissolve 1 teaspoon of salt in 2 cups of warm water. Pour this salted water into your spray bottle.
- Spread semolina flour in in a thin, even layer on your large, wide mixing bowl or tray.
- Lightly spray the semolina with 10-15 spritzes of the salted water. Immediately begin to gently rub and roll the semolina in circular motions using your palms. The goal is to make the semolina flour form tiny, distinct granules.
- Continue spraying with small amounts of water (10-15 spritzes at a time) and rolling with your hands. The semolina will slowly soak up the water. It will grow in size and look like small, round couscous grains. These grains are about the size of a pinhead.
- Place a strainer (about ⅛ inch diameter holes) over another large, shallow container. Gently work the couscous through the sieve, rubbing it with your palm or fingertips in a circular motion. Discard any large clumps that don't pass through the sieve.
- Prepare the steamer by adding four to five inches of water to the bottom, and bring it to a boil. Add the semolina to a cheesecloth lined steam basket. Place over the boiling water without touching the water and steam for 10 minutes, mixing frequently to prevent clumping; after 10 minutes, the mixture won’t clump any more.
- Cover and continue to cook for another 15 to 20 minutes.
- To serve you can stir fry, cook in your desired sauce or simply bring 2 cups of water to a boil and steam the couscous one more time, covered, for another 15 minutes. Add the oil to the couscous, fluff, and serve immediately.
Nutrition
Let’s connect on YouTube, Facebook, and Instagram. I love keeping in touch with you; nothing brings me more joy than seeing pictures of your creations. Tag me @cheflolaskitchen on Instagram and Facebook.